Overview
The Submit wizard at /dashboard/submit walks you through 7 steps. Progress is auto-saved at every step — close the browser and resume later from the Resume Draft list.
| Step | Storage writes | What you do |
|---|---|---|
| 1 — Name | None | Enter a job name |
| 2 — Training | None | Set your hyperparameters, batch size, learning rate, local epochs etc. |
| 3 — Federation | None | Set FL parameters: rounds, min clients, timeouts |
| 4 — Model | None | Point to your model class |
| 5 — Advanced | On "Build" | Review & edit auto generated configs and scripts |
| 6 — Validate | User uploads | Upload model_def.py, shard zips, optional checkpoint |
| 7 — Launch | Read only | Select workers and submit job |
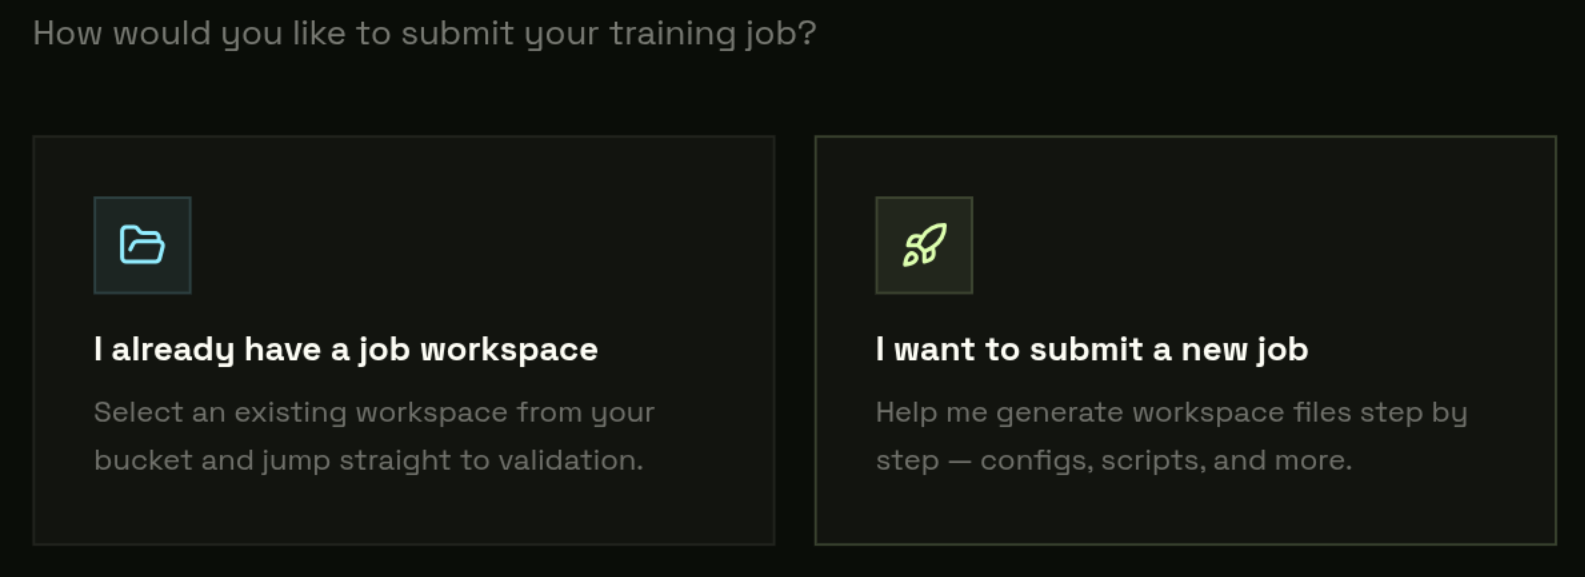
Steps 1–4: Name, Training, Federation, Model
Step 1 — Name
Enter a human-readable name, e.g. mnist-round-1. The platform sanitizes it to an S3-safe prefix: jobs/mnist-round-1/.
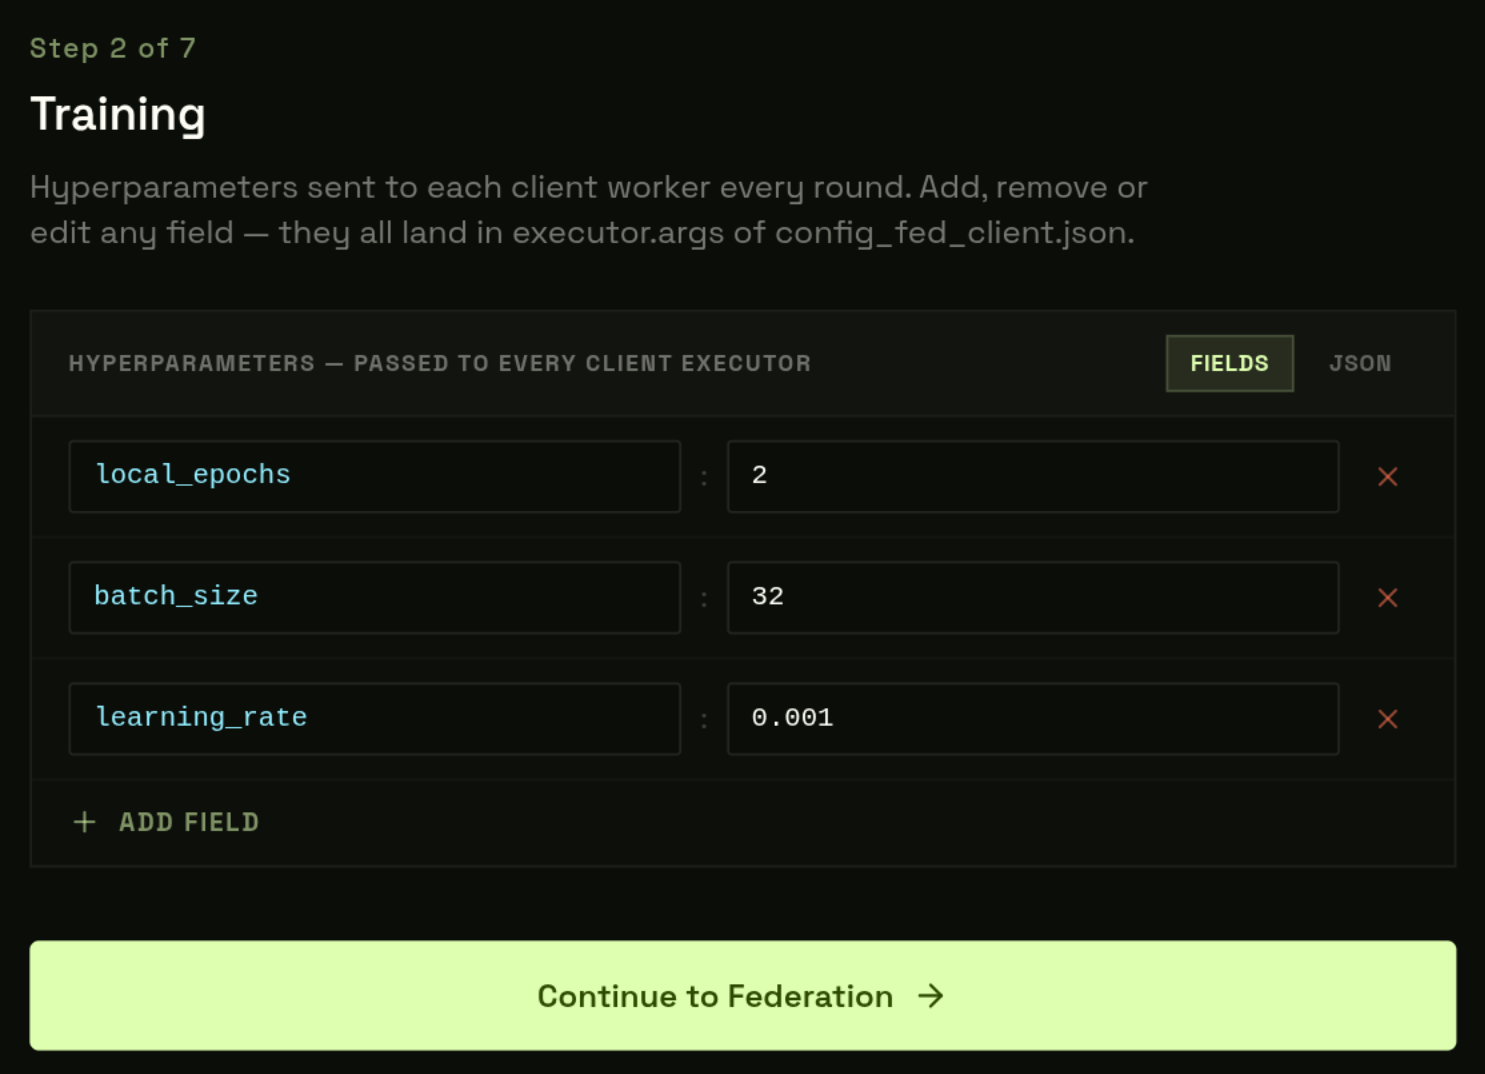
Step 2 — Training
A flexible key-value hyperparameter editor. Every row becomes a field in config_fed_client.json → executors[0].executor.args. You can add, remove, or rename any parameter. Defaults:
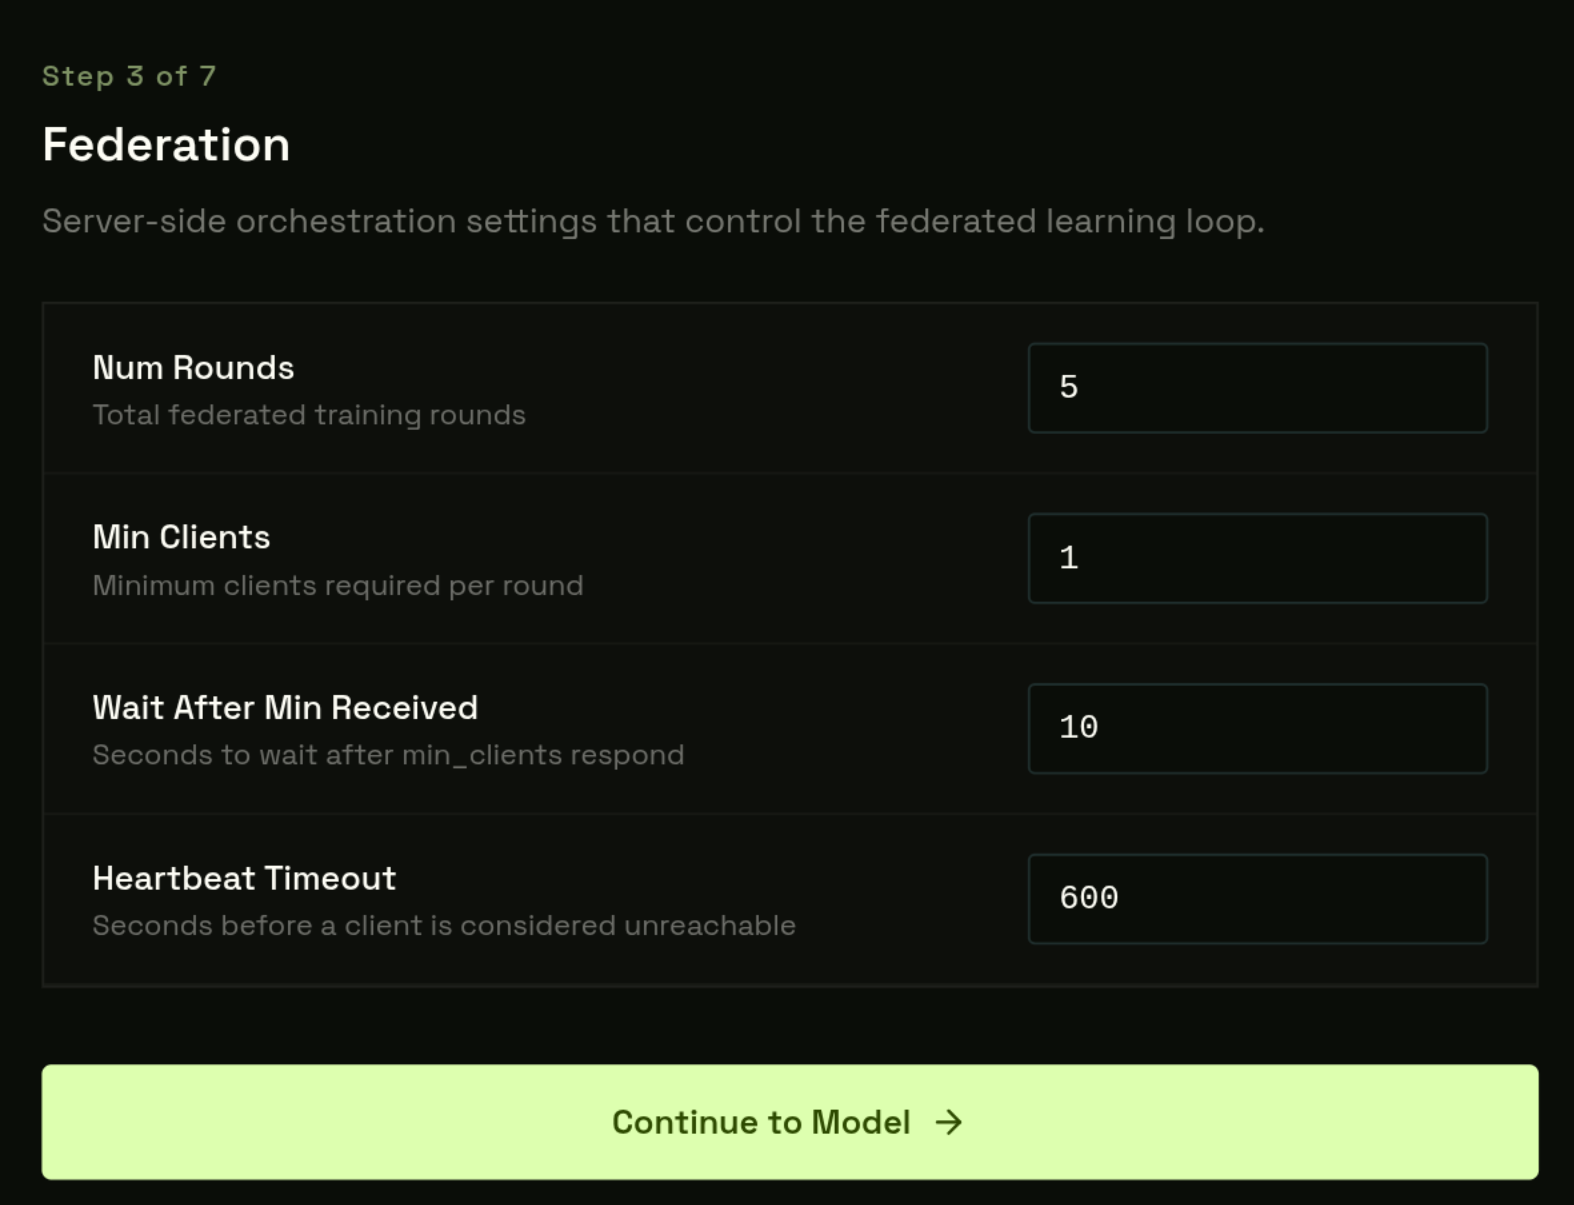
Step 3 — Federation
| Field | Default | Description |
|---|---|---|
| Num Rounds | 5 | The total number of training rounds. Defaults to 5 |
| Min Clients | 1 | Minimum workers required (will wait indefinitely until met) |
| Wait After Min Received | 10 s | Time to wait before beginning aggregation after contributions received. Defaults to 10 |
| Heartbeat Timeout | 600 s | How many seconds the server waits for a worker before marking it disconnected. Defaults to 600. |
| Training Timeout | 0 s | Time to wait for clients to do local training |
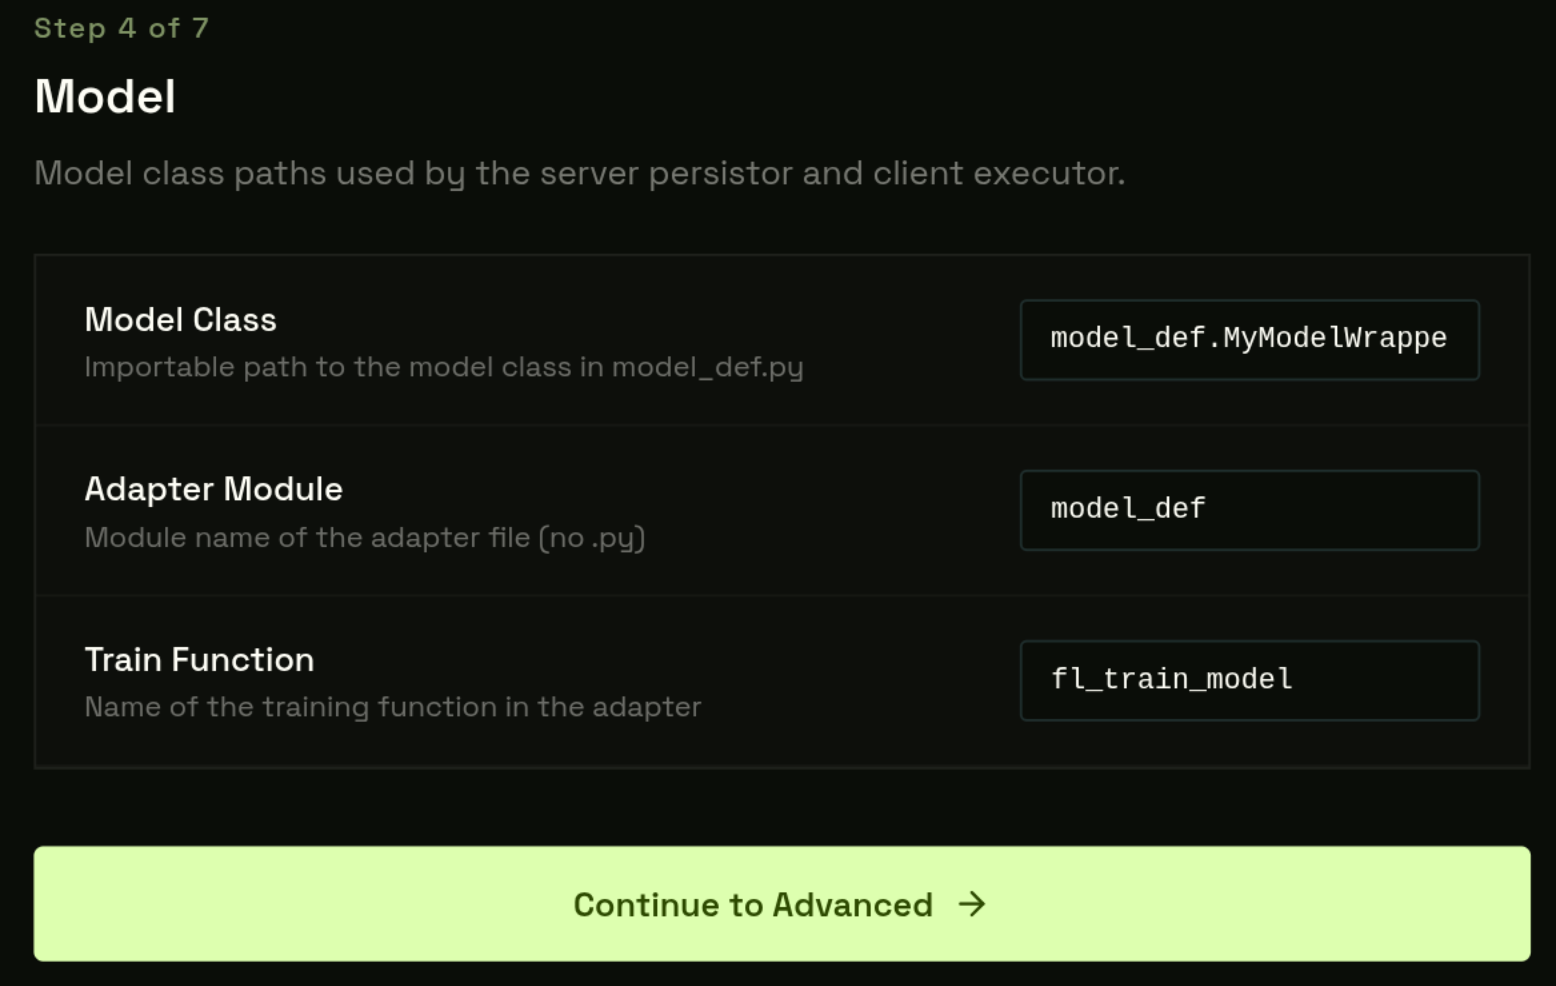
Step 4 — Model
| Field | Default | Description |
|---|---|---|
| Model Class | model_def.MyModelWrapper | The Python path to your model wrapper class. Must be in model_def.py |
| Adapter Module | model_def | Path to the .py file containing your model class |
| Train Function | fl_train_model | Name of the training function to call in the client executor. Must be defined in the same file as the model class. |
From Step 4 you can click Next (go to Step 5 to review configs) or Skip Advanced — both paths build the workspace. Skip Advanced writes the auto-generated defaults immediately and jumps straight to Validate.
Step 5: Advanced
Step 5 shows Monaco editors for the three FL config files and two generated scripts — pre-populated from your Steps 2–4 settings. Existing files in your bucket are loaded automatically if the job was previously created.
Edit anything you need, then click Build workspace. This calls POST /api/users/storage/folders which writes these files directly to your S3 bucket:
custom_client_executor.py
Add your hyperparams to __init__ and payload['env']
config_fed_client.json
Executor args: batch_size, learning_rate, num_classes, etc.
config_fed_server.json
Server: model class path, num_rounds, min_clients, FedAvg
Step 6: Validate
User uploads required. The platform blocks launch until required files are detected in your bucket.
Required
model_def.py
Your model class + fl_train_model() — class name must match Step 4
shard_0.zip, shard_1.zip, …
One .zip per GPU worker — count determines worker allocation
Optional
checkpoint.pt
Pre-trained weights loaded at round 0 — exactly 1 .pt file if provided
.pt exists in model/, submission is blocked.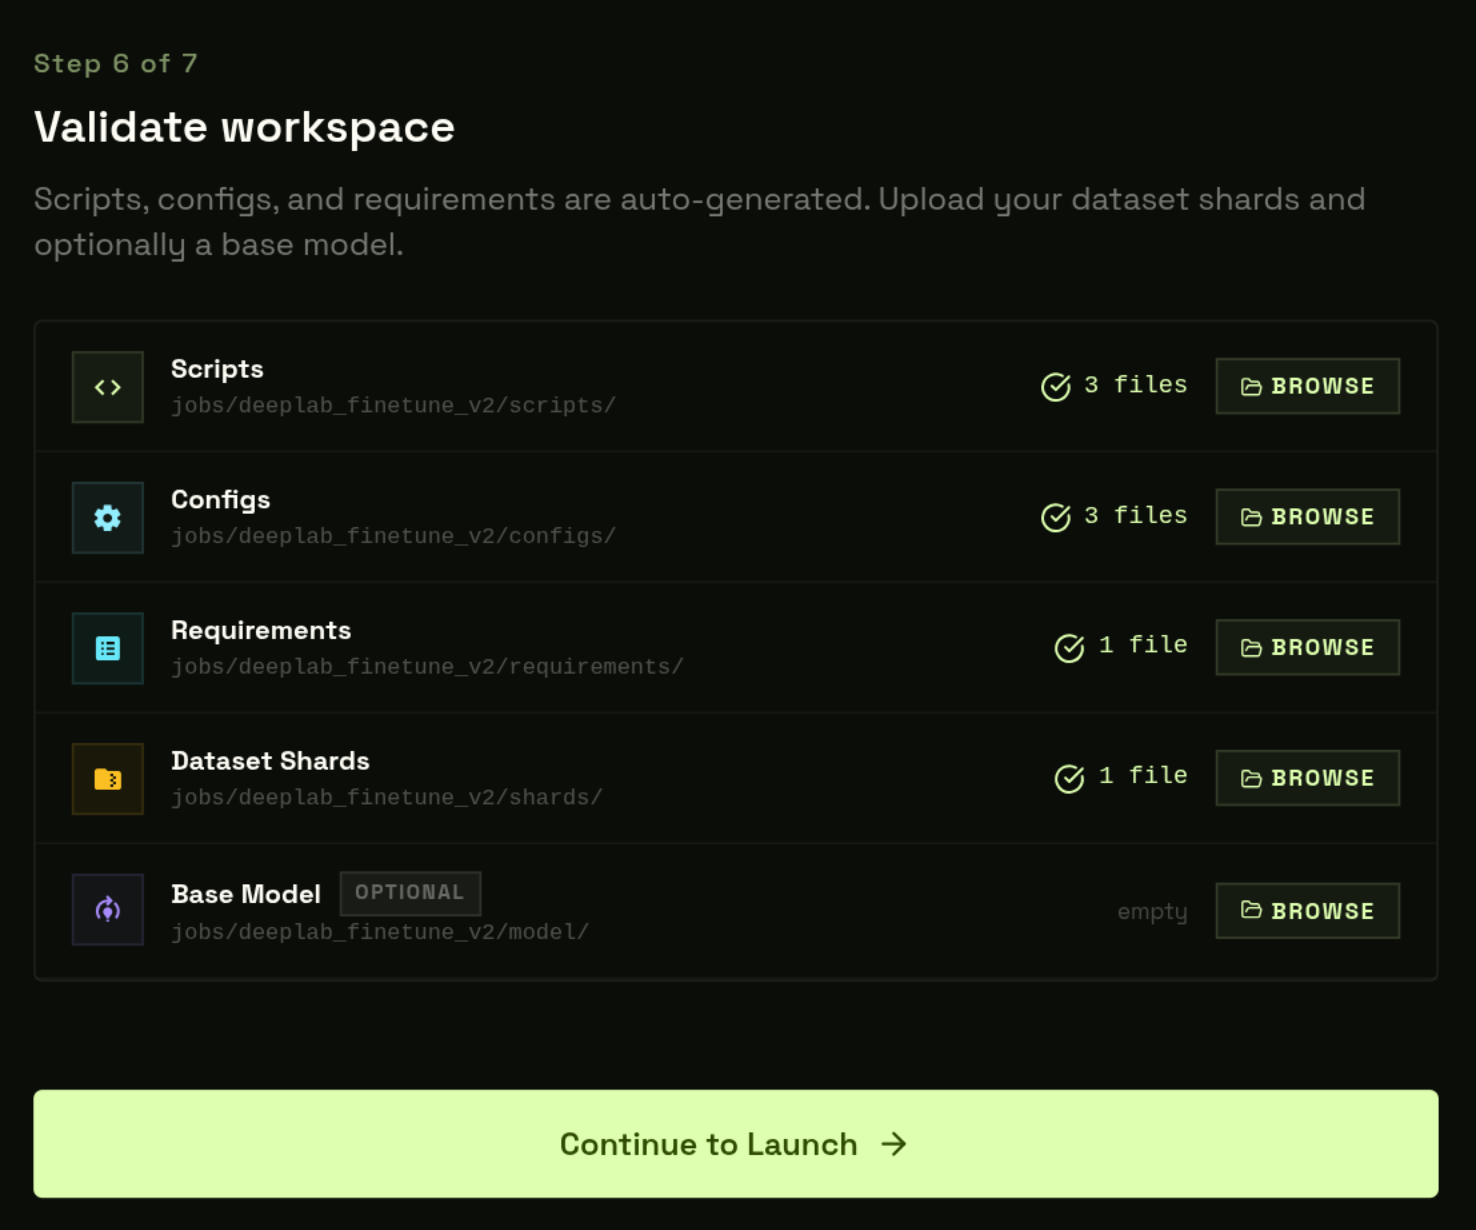
Step 7: Launch
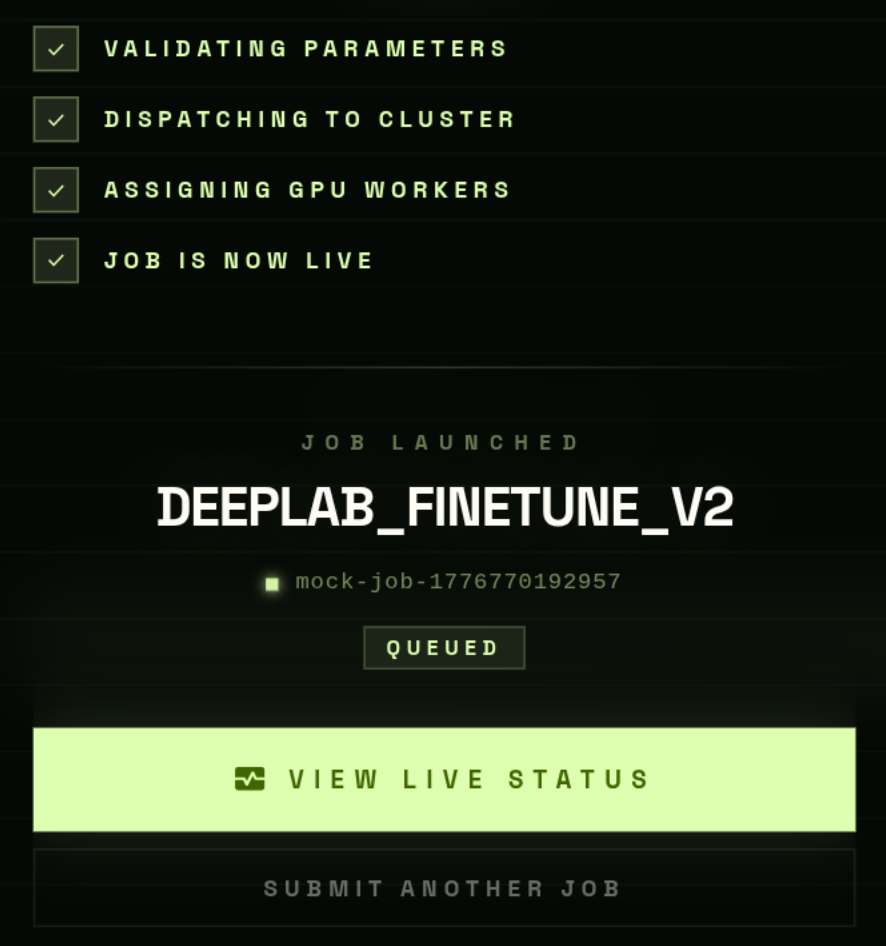
Click Launch. The API validates the bucket, counts shards, allocates workers and dispatches the FL server + workers.
- 1
Path validation
Verifies scripts/, configs/, requirements/ exist. - 2
model/ check
If present: exactly one .pt file required. - 3
Shard count → worker allocation
N zips → N workers reserved. - 4
Dispatch
FL server + worker containers started.
Draft Jobs
The wizard saves progress at every step.
- Close the browser mid-wizard — progress is restored when you return.
- Drafts listed on the Submit page under Resume Draft.
- Automatically removed after successful launch.
- Delete manually from the draft list at any time.